phpMyAdmin is a web-based database management tool that you can use to view and edit the MySQL databases on your EC2 instance. Follow the steps below to install and configure phpMyAdmin on your Amazon Linux instance.
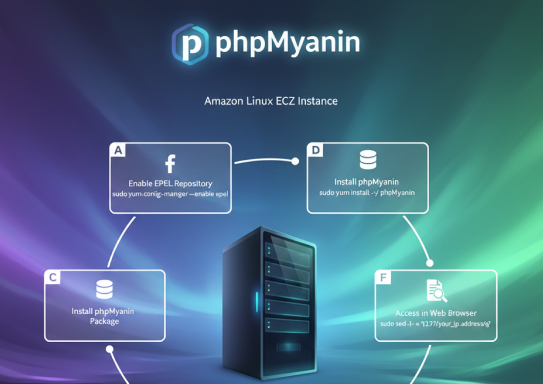
A. Enable the Extra Packages for Enterprise Linux (EPEL) repository from the Fedora project on your instance.
[ec2-user ~]$ sudo yum-config-manager --enable epel
B. Install the phpMyAdmin package.
[ec2-user ~]$ sudo yum install -y phpMyAdmin
Answer y to import the GPG key for the EPEL repository when prompted.
C. Configure your phpMyAdmin installation to allow access from your local machine. By default, phpMyAdmin only allows access from the server that it is running on, which is not very useful because Amazon Linux does not include a web browser.
1. Find your local IP address by visiting a service such as whatismyip.com.
2. Edit the /etc/httpd/conf.d/phpMyAdmin.conf file and replace the server IP address (127.0.0.1) with your local IP address with the following command, replacing your_ip_address with the local IP address that you identified in the previous step.
[ec2-user ~]$ sudo sed -i -e 's/127.0.0.1/your_ip_address/g' /etc/httpd/conf.d/phpMyAdmin.conf
D. Restart the Apache web server to pick up the new configuration.
[ec2-user ~]$ sudo service httpd restart
Stopping httpd:                                            [  OK  ]
Starting httpd:                                            [  OK  ]
E. In a web browser, enter the URL of your phpMyAdmin installation. This URL is the public DNS address of your instance followed by a forward slash and phpmyadmin. For example:
http://my.public.dns.amazonaws.com/phpmyadmin
Note
If you get a 403 Forbidden error, verify that you have set the correct IP address in the /etc/httpd/conf.d/phpMyAdmin.conf file. You can see what IP address the Apache server is actually getting your requests from by viewing the Apache access log with the following command:
[ec2-user ~]$ sudo tail -n 1 /var/log/httpd/access_log | awk '{ print $1 }'
205.251.233.48
Repeat Step 2, replacing the incorrect address that you previously entered with the address returned here; for example:
[ec2-user ~]$ sudo sed -i -e 's/previous_ip_address/205.251.233.48/g' /etc/httpd/conf.d/phpMyAdmin.conf
After you’ve replaced the IP address, restart the httpd service with Step 4.
F. Log into your phpMyAdmin installation with the root user name and the MySQL root password you created earlier.